-
Views:74


OLYMPUS CIX100 Turnkey Technical Cleanliness Inspection System: Simplify Your Technical Cleanliness
The cleanliness of components and parts is at the center of the manufacturing process. Meeting high standards for counting, analyzing, and classifying the often micron-sized contaminant and foreign particles is important for all processes: development, manufacturing, production, and quality control of the final product. International and national directives describe the methods and documentation requirements for determining particle contamination on essential machined parts since these particles directly impact the lifespan of parts and components. Previously, the mass of residue particles was used to characterize the residue. The standards in use today demand more detailed information about the nature of the contamination such as the number of particles, particle size distribution, and particle characteristic.
The OLYMPUS CIX100 Cleanliness Inspection System is designed to meet the cleanliness requirements of modern industry and national and international directives.

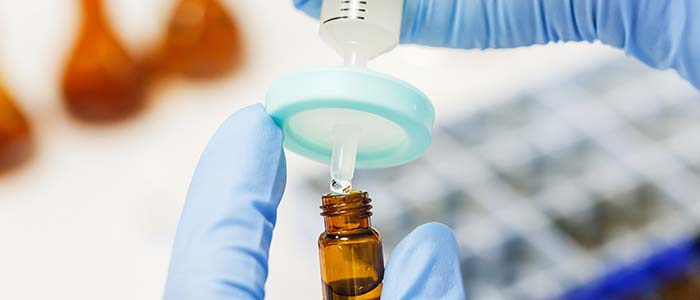
The technical cleanliness of components and parts is essential, especially in the automotive and aerospace industries.
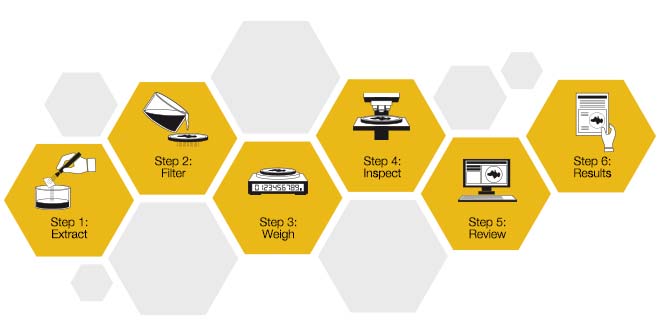
Standard Process for Cleanliness Inspection: Preparation and Investigation
(01
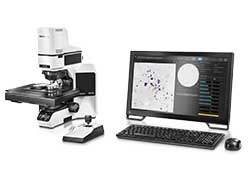
Seamlessly integrated hardware and software result in a durable, high-throughput system that delivers reliable and accurate data.
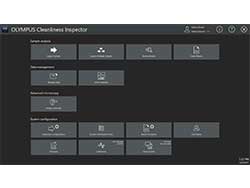
Dedicated, easy-to-use workflows minimize user action and guarantee reliable data - independent of the operator and experience level.
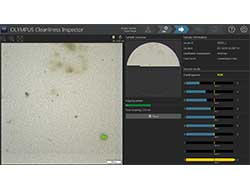
The unique all-in-one-scan solution enables scans to be completed twice as fast as other inspection systems. Counted and sorted particles are displayed live while powerful, easy-to-use tools make it easy to revise inspection data.
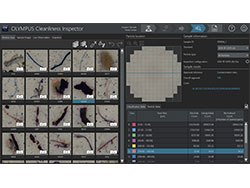
Powerful and easy-to-use tools support to revise inspection data. Highest flexibility is guaranteed by
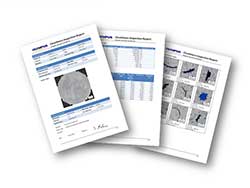
One-click reporting meets the requirements and methodologies set forth in international standards.
|
Hardware |
|||
|
Microscope |
OLYMPUS CIX100 |
Motorized focus |
Coaxial motorized fine focus with 3 axis joystick |
|
Focus stroke 25mm |
|||
|
Fine stroke 100 µm / rotation |
|||
|
Maximum height of stage holder mounting : 40 mm |
|||
|
Focus speed 200 µm/sec |
|||
|
Software autofocus enabled |
|||
|
Customizable multi-point focus map |
|||
|
Illumination |
Built-in LED illumination |
||
|
Innovative illumination mechanism with simultaneous detection of reflecting and non-reflecting particles |
|||
|
Light intensity controllable by software |
|||
|
Imaging device |
Color CMOS USB 3.0 camera |
||
|
On chip pixel size 2.2 x 2.2 µm |
|||
|
Sample height |
Sample is limited to filter membrane (diameter 42 mm) mounted into the provided filter holder. |
||
|
Nose piece |
Motorized type |
Motorized Nosepiece |
6 positions motorized nosepiece with 3 UIS2 objectives already installed |
|
PLAPON 1.25X used for preview |
|||
|
MPLFLN 5X used for detecting particles bigger than 10 µm |
|||
|
MPLFLN 10X used for detecting particles bigger than 2.5 µm |
|||
|
Software controlled |
The image magnification and relation between pixel and size is known at every moment. |
||
|
Selected objectives are used at selected steps into the measurement process, objectives are automatically positioned |
|||
|
Stage |
Motorized stage X,Y |
Motorized stage X,Y |
Stepper motors controlled movement |
|
Maximum range : 130 x 79 mm |
|||
|
Max speed 240 mm/s (4 mm ball screw pitch) |
|||
|
Repeatability < 1µm |
|||
|
Resolution 0.01 µm |
|||
|
Controllable with 3 axis joystick |
|||
|
Software controlled |
Scanning speed is depending on the used magnification, at 10x the scanning speed is less than 10 minutes |
||
|
Stage alignment is performed at factory assembly |
|||
|
Specimen holder |
Sample holder |
Membrane holder is specially designed to avoid an unwanted rotation of the membrane during the mounting |
|
|
The membrane is mechanically flatten by the membrane holder |
|||
|
No tool is needed to fix the cover |
|||
|
The sample holder is always assigned the slot 1 on the stage |
|||
|
Particle Standard Device (PSD) |
Reference sample used to validate the system measurement |
||
|
Sample used in the check system built-in function for controlling the proper function of the CIX |
|||
|
The PSD is always assigned slot 2 on the stage |
|||
|
Stage insert |
2-Position stage insert |
Stage insert dedicated to the right positioning of the sample holder and the PSD |
|
|
Controller |
Workstation |
High-Performance pre-installed workstation |
HP Z440, Windows 10-64 bit Professional (English) |
|
16 GB RAM, 256 GB SSD and 4 TB data storage |
|||
|
2GB video adapter |
|||
|
Microsoft Office 2016 (English) installed |
|||
|
Networking capabilities, English qwerty keyboard, optical mouse 1000 dpi |
|||
|
Add-in boards |
Motorized controller, RS232 serial and USB 3.0 |
||
|
Language selection |
Operating system and Microsoft Office default language can be changed by the user |
||
|
Touch panel display |
23 inch slim screen |
Resolution 1920x1080 optimized for use with the CIX software |
|
|
Power |
Rating |
AC adapter (2), Controller and Microscope frame (4 plugs necessary) |
|
|
Input: 100-240V AC 50/60Hz, 10 A |
|||
|
Power consumption |
Controller: 700 W; Monitor: 56 W; Microscope: 5.8 W; Control Box 7.4 W |
||
|
Total: 769.2 W |
|||
|
Drawing |
Dimensions |
Approx. 1300 mm × 800 mm × 510 mm |
|
|
Weight |
44 kg |
||